
Order Custom Sticker Labels on Lazada, Shopee, or TikTok — stickercentral.ph Self-Service Guide
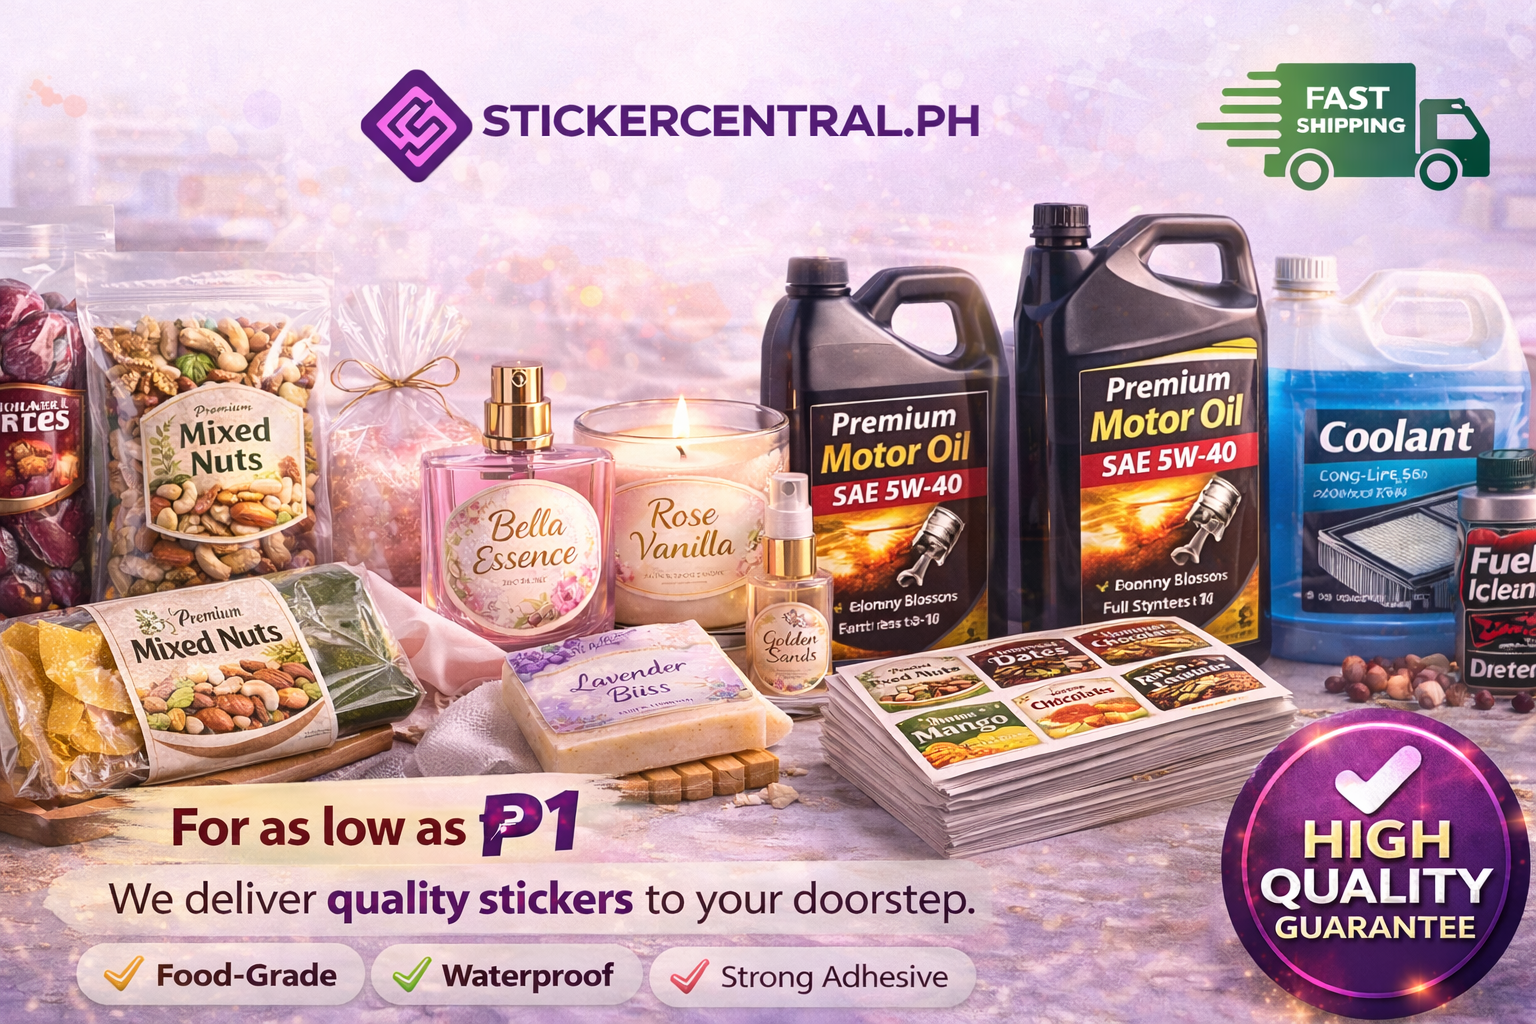
How to Order Sticker Labels Online at stickercentral.ph
Ordering custom sticker labels online is easy once you have a free account. Upload your artwork, configure your size and options, get a priced quotation, and track everything from your dashboard.
What you need before you start
A free account at stickercentral.ph
A delivery address saved in your account (Dashboard → Settings → Delivery Address)
Your artwork file (high-resolution PNG, JPG, or PDF recommended)
Step 1: Sign in to your dashboard
Go to stickercentral.ph and Sign up or Log in.
Open your Dashboard from the menu.
Your dashboard is where you place orders, view quotations, and track shipments.
Step 2: Start Self Service for sticker labels
From the dashboard home:
Tap or click Sticker Labels under services.
The Self Service wizard will open.
You can also start from My Quotations using the Self Service button.
Tip: Make sure your delivery address is complete. Some order channels (for example Messenger) require it before you can continue.
Step 3: Choose your order channel
Select where you are ordering from:
Website — order directly through stickercentral.ph
Messenger — you ordered or will checkout via Facebook Messenger
Marketplace (Shopee, Lazada, TikTok, etc.) — you will complete payment on the marketplace
If applicable, enter your marketplace order number so we can match your quotation to your purchase.
Step 4: Upload artwork and set sticker size
Upload your design image.
Enter your sticker width and height (in inches).
Adjust bleed if your design goes to the edge.
Confirm the preview looks correct before moving on.
Use clear, high-resolution files for the best print result. If the image aspect ratio does not match your sticker size, the app will warn you.
Step 5: Configure cut type and placement
Choose your cut type (for example die-cut or kiss-cut).
Position your artwork on the sticker layout.
Review the live preview.
This step defines how each sticker will be cut and how your design sits on the sheet.
Step 6: Set up variants (if needed)
If you have multiple versions of the same design (different names, flavors, SKUs, etc.):
Add each variant.
Set how many copies you need per variant.
You can skip this if you only have one design.
Step 7: Choose sticker options
Pick your print specifications:
Material (for example glossy sticker, matte white, transparent)
Lamination (glossy, matte, holographic, and more)
Adhesive type, if shown
Pricing updates as you change options so you can compare before submitting.
Step 8: Enter quantities and review
Enter how many pages or stickers you need (this depends on your order channel).
Check the estimated total, including shipping when shown.
Open the Review step and confirm:
Design details
Sizes and quantities
Material and finish
Estimated price
Click Submit to create your quotation.
Step 9: Find your quotation in My Quotations
After submitting:
You will see your quotation ID and estimated total.
Open My Quotations in the dashboard anytime to view it.
Open the quotation to see full details, line items, and totals.
You can also download the quotation PDF from the quotation page.
After submitting, your quotation will appear in My Quotations with a pending status while our team reviews it.
Step 10: Wait for our sales team to approve your quotation
After you submit, your quotation is not final yet. Our sales assistant will review it first.
What happens next
We check your artwork, sizes, quantities, and pricing.
If anything needs adjustment, we may contact you via Messenger or email.
Once everything looks good, we approve your quotation.
What you should do
Open My Quotations in your dashboard.
Check the quotation status:
Open / Draft / For Review — still being reviewed
Approved — ready to proceed with payment and production
Watch for an email or Messenger message with a link to view your quotation in the dashboard.
Note: Online Self Service quotations are reviewed and approved by our team. You do not need to click “Approve” yourself for sticker label orders placed through Self Service.
Step 11: Complete checkout after approval
Once your quotation is Approved, complete payment based on your order channel:
Website / direct orders
Follow the payment instructions on your quotation or order page (COD, bank transfer, GCash, etc.).
Messenger orders
Copy your quotation ID and send it to us on Messenger to complete checkout.
Marketplace orders (Shopee, Lazada, TikTok, etc.)
Copy your quotation ID from My Quotations.
Go to the marketplace and select the matching variation and quantity shown in your quotation.
Paste or send the quotation ID when checking out so we can link your order.
Step 12: Track your order
Once your order is confirmed and in production:
Go to My Orders in your dashboard, or
Use the online tracker at stickercentral.ph/track with your order number.
Quick tips for a smooth order
Minimum order: ₱500 + shipping (free shipping on ₱1000+ orders).
Production: Usually 1–3 days after details are confirmed; cutoff is 1 PM for the best chance of same-day dispatch.
File quality: 300 DPI artwork with bleed gives the cleanest result.
Need help with design? Email hello@stickercentral.ph or message us on Messenger.
Not ready for Self Service? Use Request Quick Quote from the dashboard and we will prepare a quotation for you.
Need help?
Messenger: m.me/stickercentral.ph
Email: hello@stickercentral.ph
Phone / SMS: +63 917 876 1759
Business hours: Monday–Saturday, 9 AM – 6 PM
Ready to start? Create your free account and open your dashboard to order sticker labels online.